Chapter 17 Lab to install R and RStudio
17.0.1 Lab Goals
The purpose of this lab is to ensure that you have installed and configured all the software you’ll need to create productive working environment for reproducible scientific computing.
After completing this lab, you should have installed R, RStudio (which also includes Quarto with it), and be able to render this Quarto document!
17.1 Instructions for Installing R and RStudio
The steps needed to set up a reproducible scientific computing environment depend on the type of computing device you have. Find your computing device in the list below, and click on the link to continue the lab:
Set up instructors for Apple MacBooks
Set up instructions for Windows computers
If you’re not sure what kind of computing device you have, please ask your instructor for help. If you do not have regular access to a MacBook or Windows PC, please consult with your instructor.
17.2 What is RStudio?
If you click on the R program you just downloaded, you will find a very basic user interface. For example, below is what I get on a Mac.
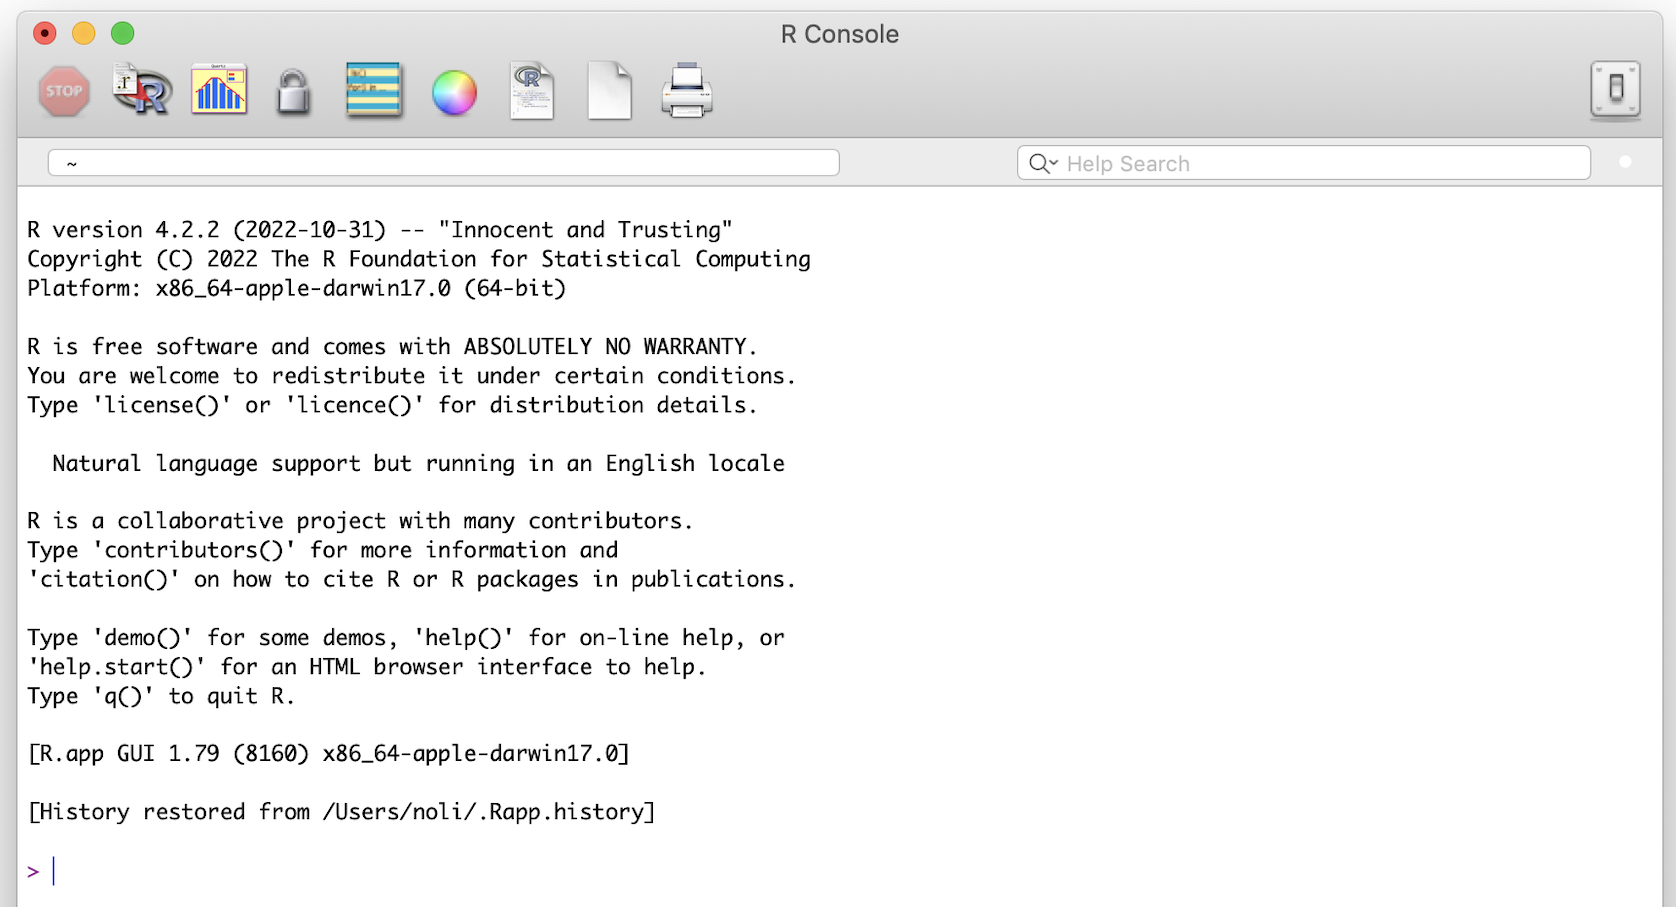
(#fig:r_interface)R program interface
17.3 The RStudio Interface
Open up RStudio. You should see the interface shown in the figure below which has three windows.
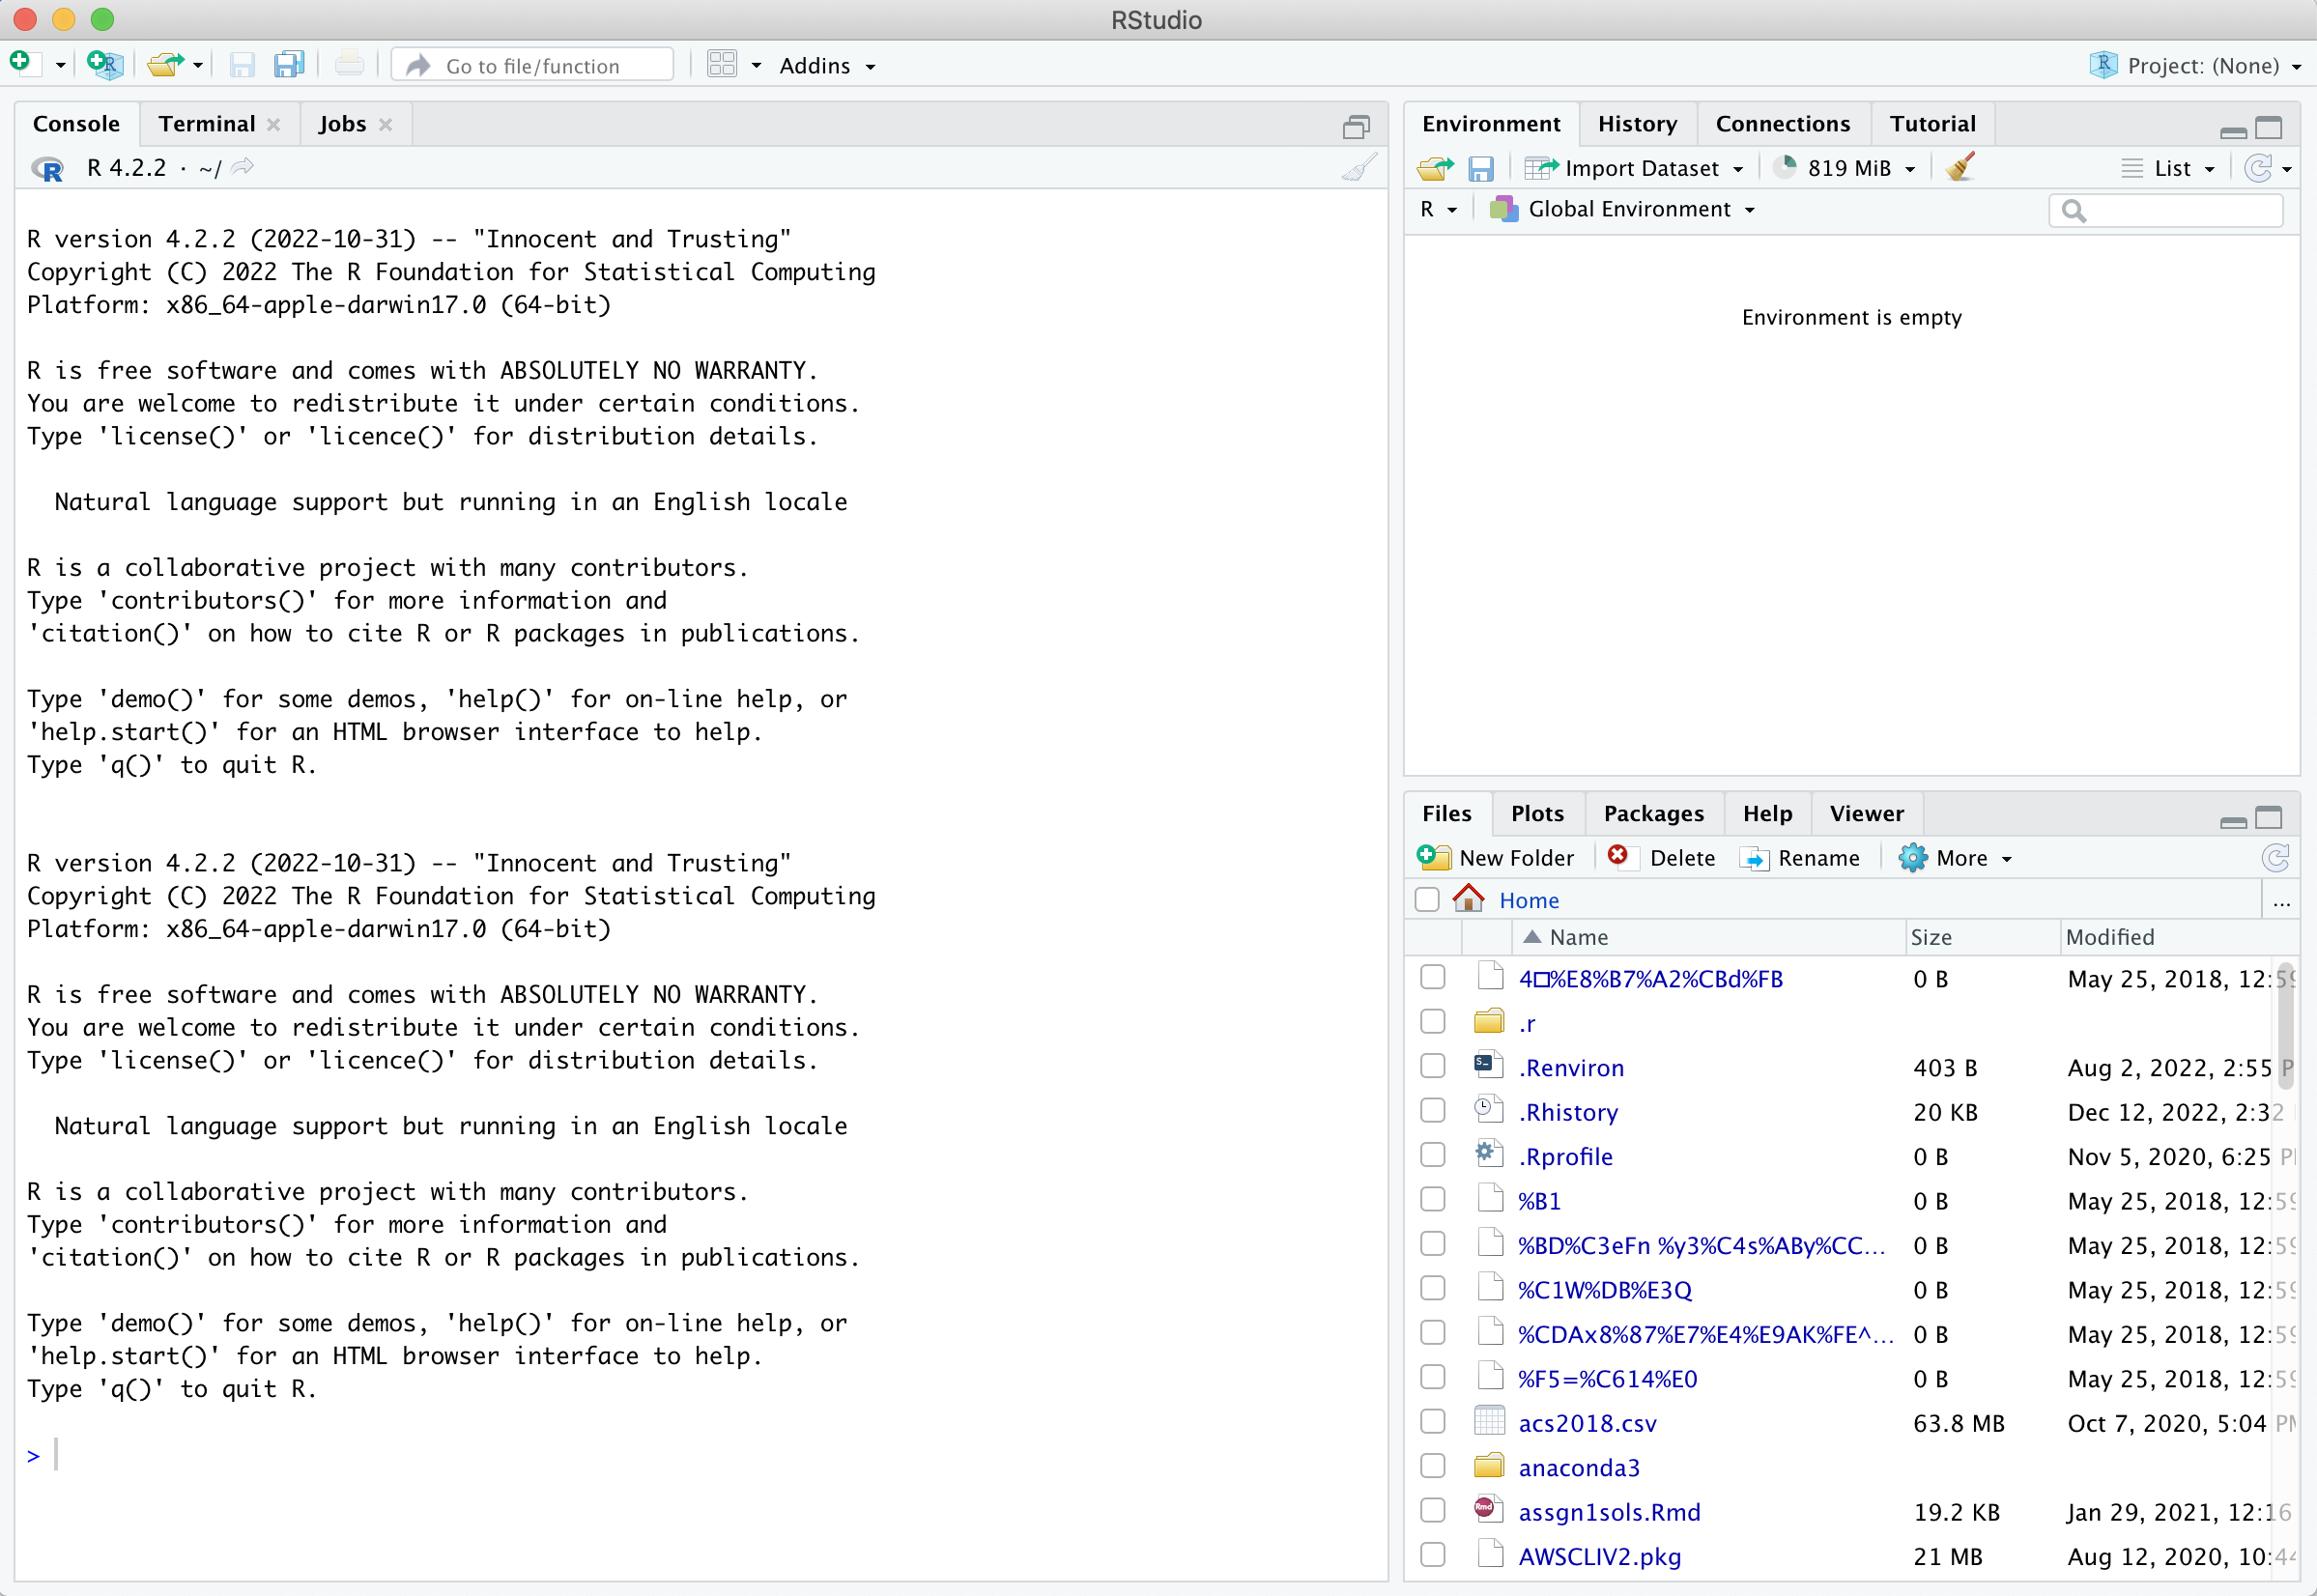
(#fig:rstudio_interface)RStudio interface
Console (left) - The way R works is you write a line of code to execute some kind of task on a data object. The R Console allows you to run code interactively. The screen prompt
>is an invitation from R to enter its world. This is where you type code in, press enter to execute the code, and see the results.Environment, History, and Connections tabs (upper-right)
Environment - shows all the R objects that are currently open in your workspace. This is the place, for example, where you will see any data you’ve loaded into R. When you exit RStudio, R will clear all objects in this window. You can also click on
 to clear out all the objects loaded and created in your current session.
History - shows a list of executed commands in the current session.
Connections - you can connect to a variety of data sources, and explore the objects and data inside the connection. I typically don’t use this window, but you can.
Files, Plots, Packages, Help and Viewer tabs (lower-right)
Files - shows all the files and folders in your current working directory (more on what this means later).
Plots - shows any charts, graphs, maps and plots you’ve successfully executed.
Packages - tells you all the R packages that you have access to (more on this later).
Help - shows help documentation for R commands that you’ve called up.
Viewer - allows you to view local web content (won’t be using this much).
Running R code using the console (bottom left in figure below) is a great place to start, but has its limitations. Each time you want to execute a set of commands, you have to re-enter them at the command line. Complex commands are potentially subject to typographical errors, necessitating that they be re-entered correctly. Repeating a set of operations requires re-entering the code stream. To give yourself more room to work, it’s a great idea to use the R script editor.
A script is simply a text file containing a set of commands and comments. The script can be saved and used later to re-execute the saved commands. The script can also be edited so you can execute a modified version of the commands.
You can open a new empty script by clicking the New File icon in the upper left of the main RStudio toolbar. This icon looks like a white square with a white plus sign in a green circle. Clicking the icon opens the New File Menu. Click the “R Script” option and the script editor will open with an empty script. Your R Studio should look similar to below (image source: R for Data Science)
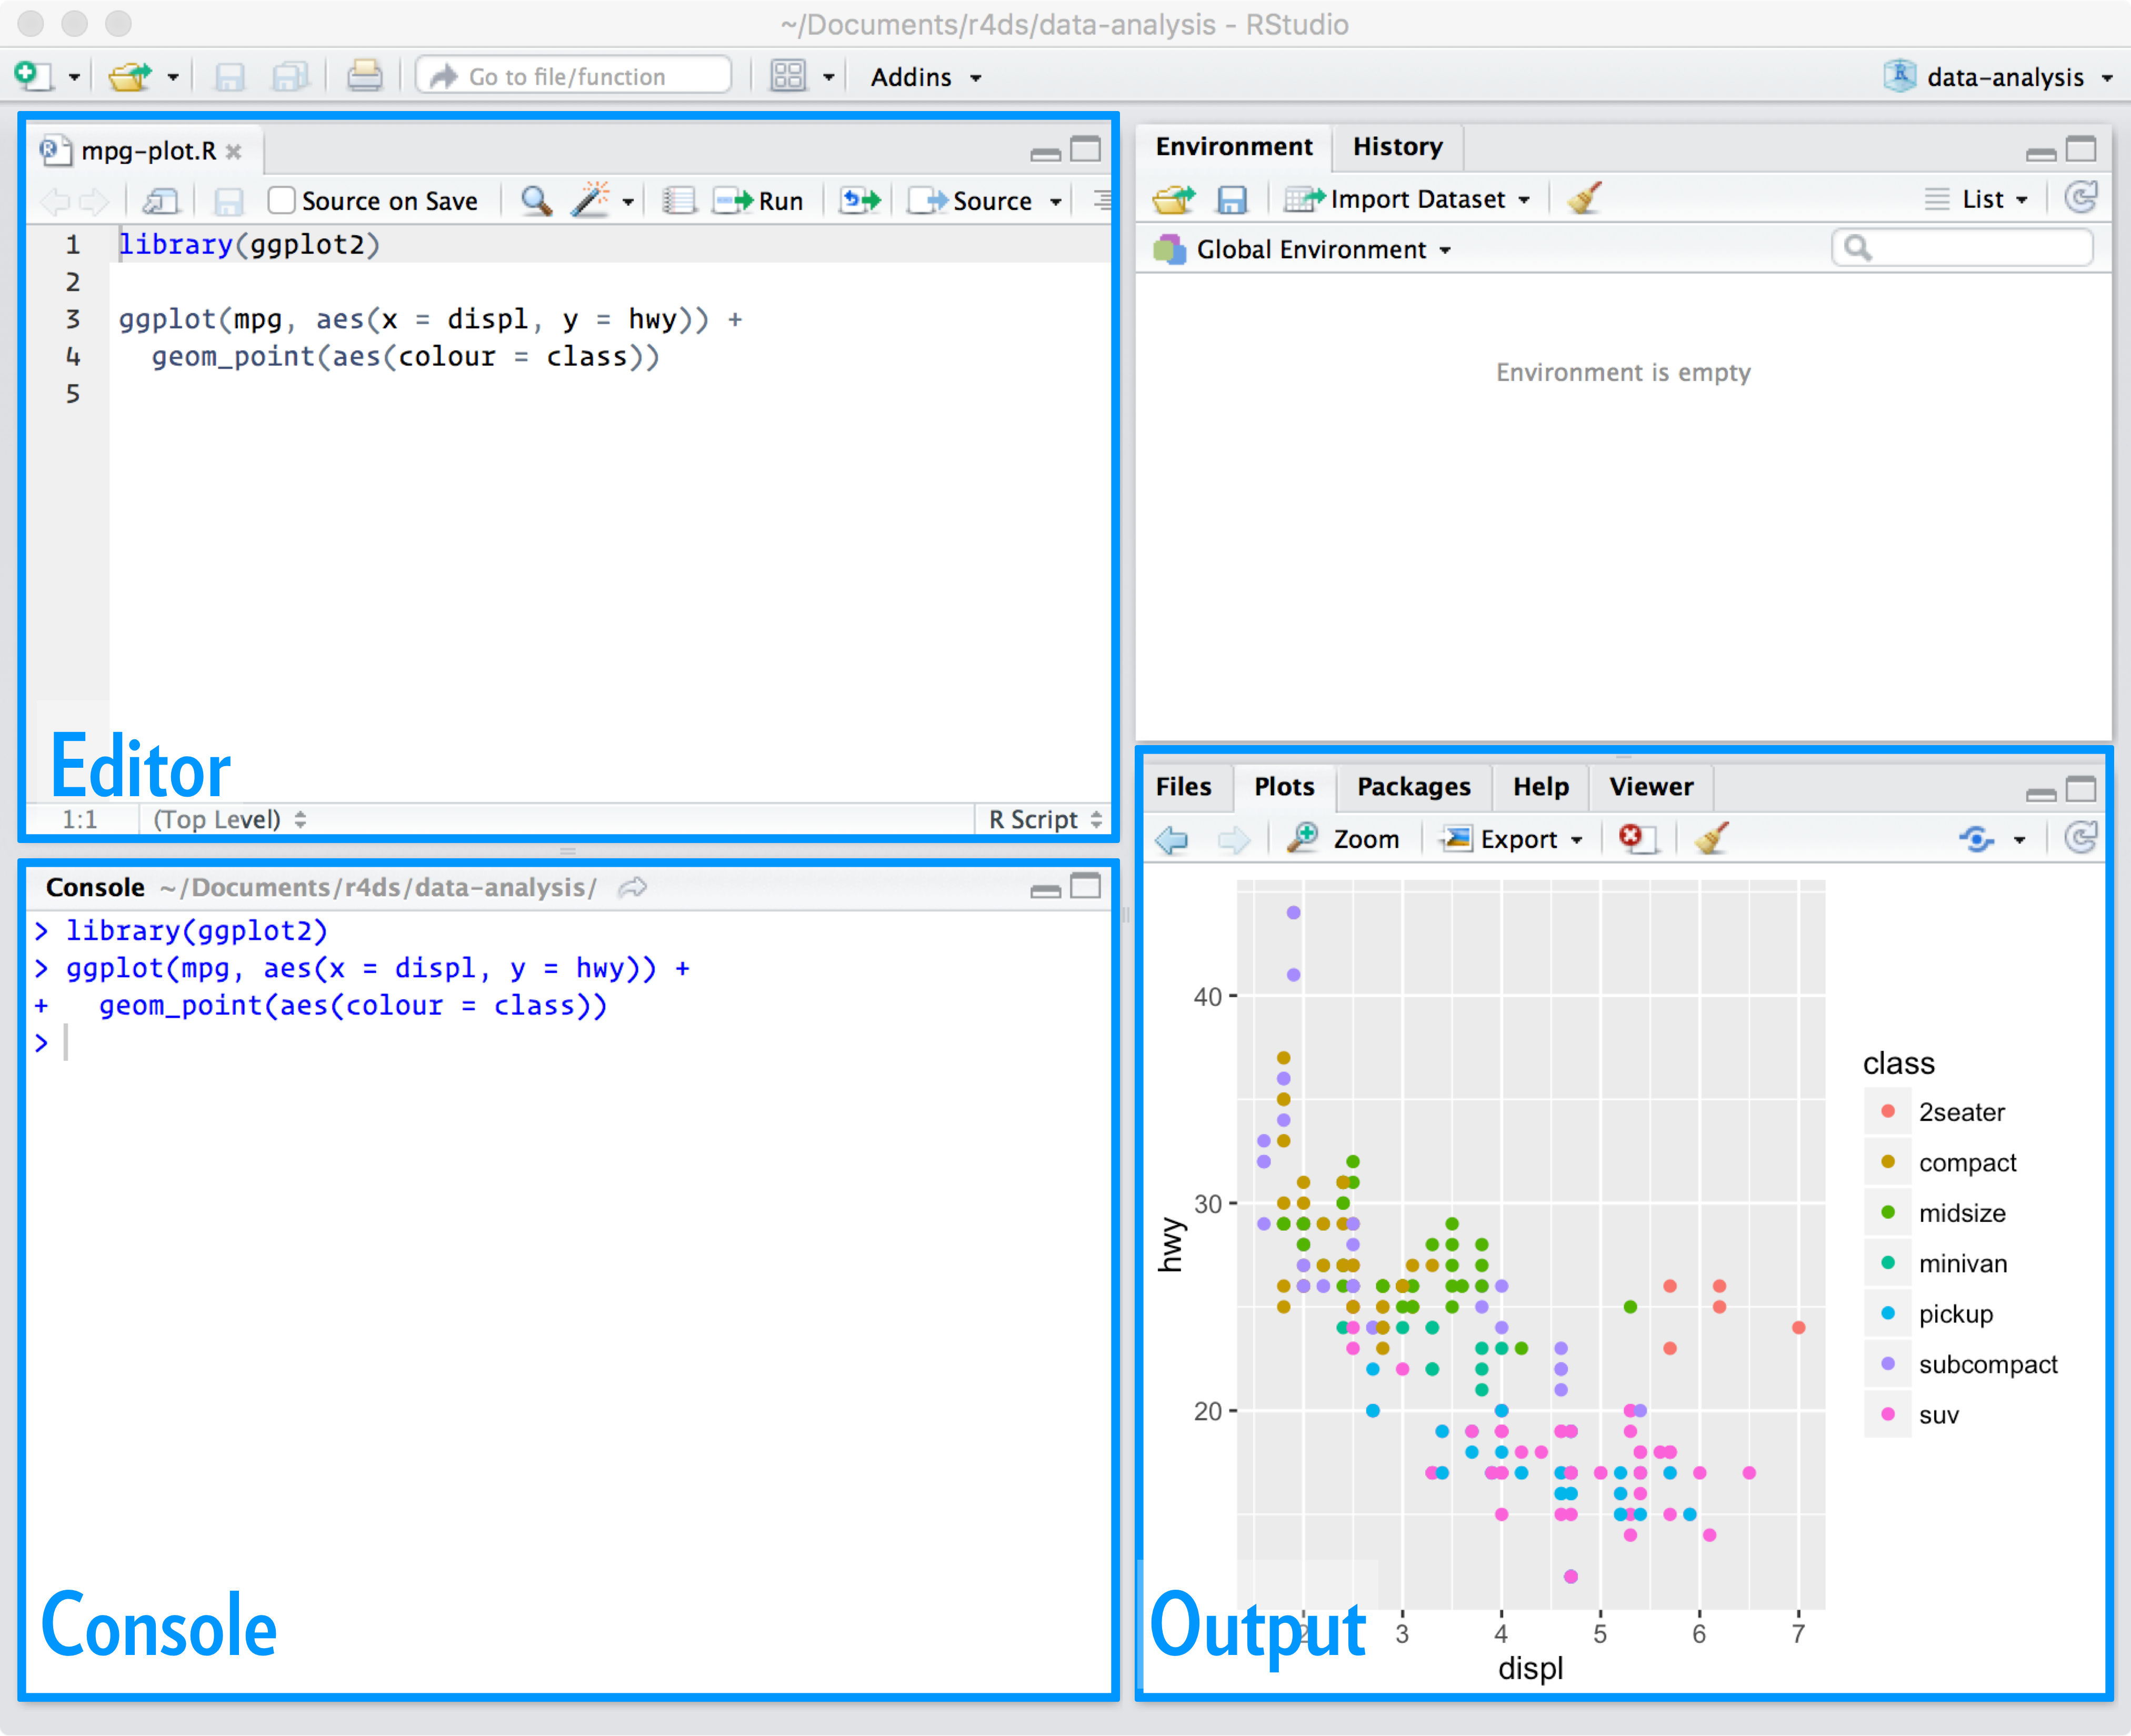
(#fig:rstudio_windows)RStudio windows
R Markdown documents take script files to a new level by allowing you to mix R commands with explanatory text. Think of an R Markdown document as an R script on steroids. Your R Markdown source document is compiled into an output report evaluating the R commands in the source document to produce easily reproducible results in an aesthetically pleasing form. It combines code, results from the code, and narrative text explaining the results to produce beautiful documents and academic reports.
17.3.1 Setting RStudio Defaults
While not required, I strongly suggest that you change preferences in RStudio to never save the workspace so you always open with a clean environment. See Ch. 6.2 of R4DS for some more background
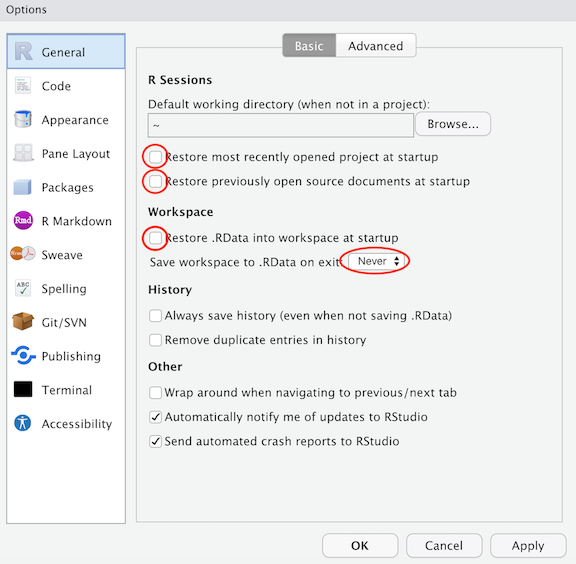
From the Tools menu on RStudio, open the Tools menu and then select Global Options.
If not already highlighted, click on the General button from the left panel.
Uncheck the following Restore boxes
Restore most recently opened project at startup
Restore previously open source documents at startup
Restore .RData into workspace at startup
Set Save Workspace to .RData on exit to Never
Click OK at the bottom to save the changes and close the preferences window. You may need to restart RStudio.
(#fig:rstudio_windows_labelled)RStudio windows
The reason for making these changes is that it is preferable for reproducibility to start each R session with a clean environment. You can restore a previous environment either by rerunning code or by manually loading a previously saved session.
The R Studio environment is modified when you execute code from files or from the console. If you always start fresh, you do not need to be concerned about things not working because of something you typed in the console, but did not save in a file.
You only need to set these preferences once.
Website created and maintained by Jordan Ayala